
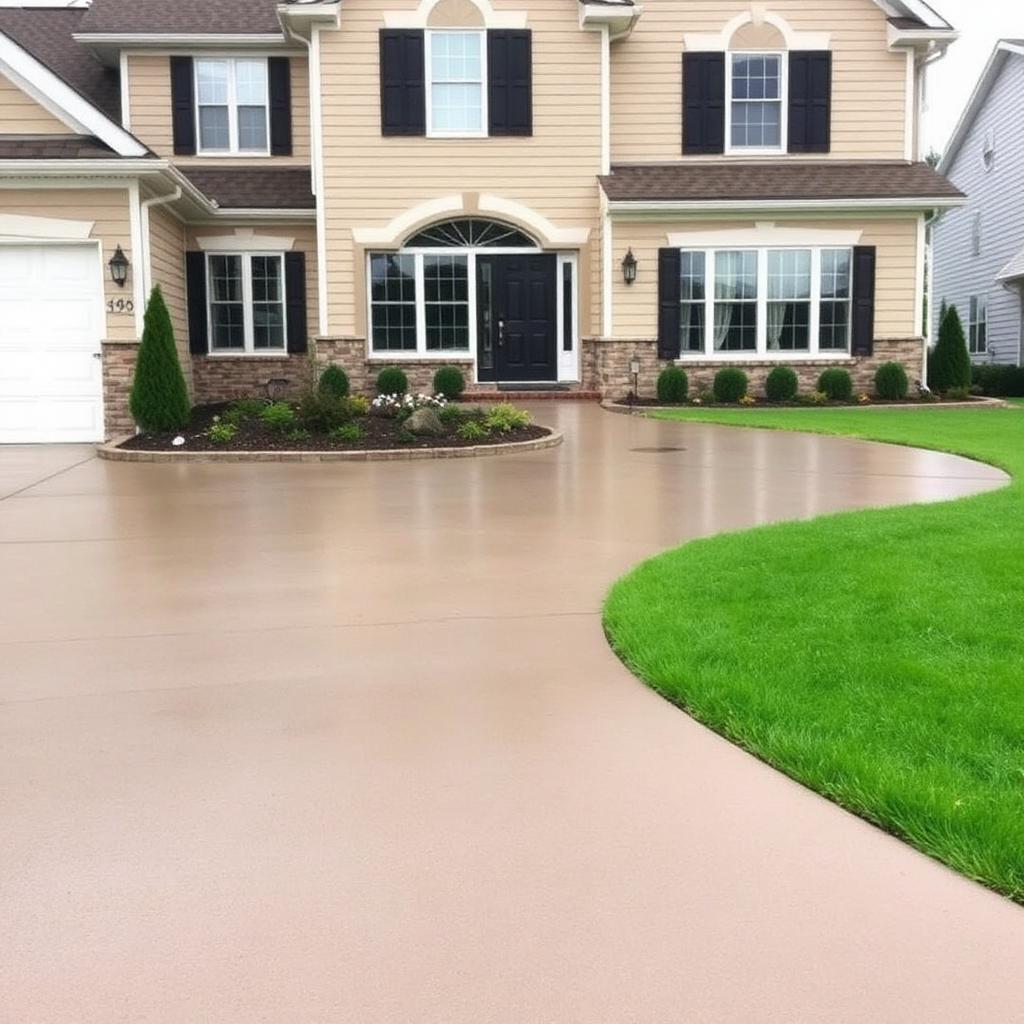
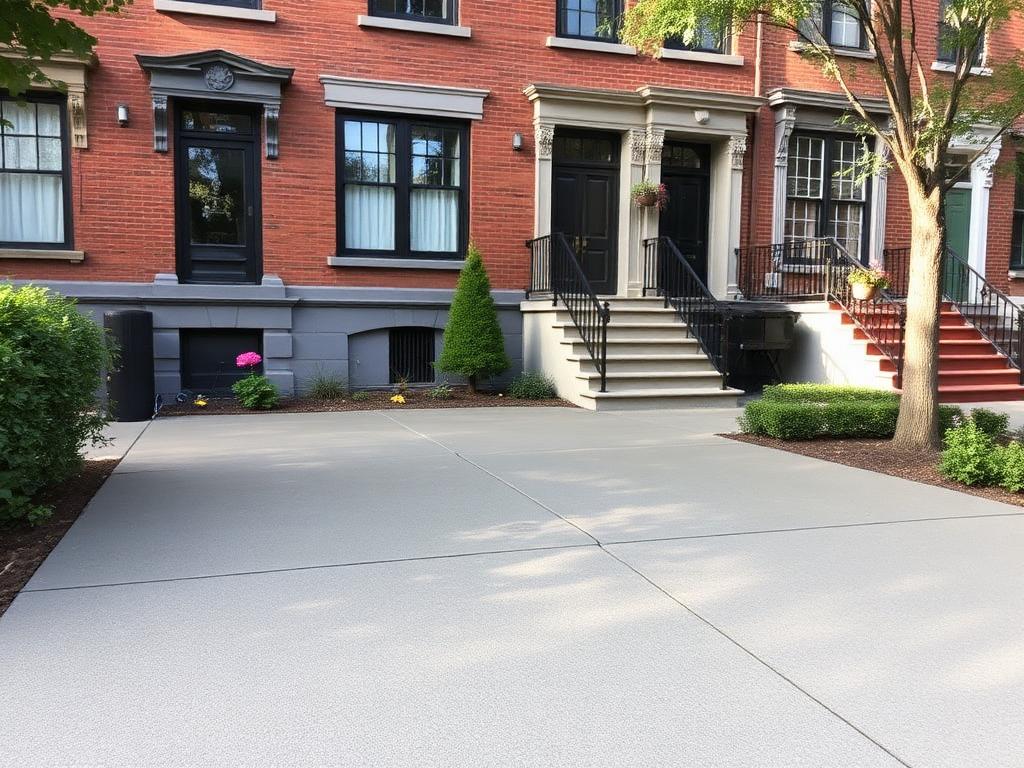
Driveway Installation in NYC & Long Island: The Honest Overview
A new driveway is the single most-visible exterior upgrade you can make to a NYC or Long Island home — and the one most-likely to be ruined by a bad sub-base.
Driveway Installation sits at the intersection of building science, local code, and what your property actually needs over the next 20 years. Gotham Home Services has been doing this work across all five boroughs and both Long Island counties for years, and we've seen every failure mode the climate, the soil, and the previous contractor can deliver. That history is why we approach every driveway installation job the same way: figure out what the substrate, the structure, and the codebook all require, then deliver work that meets every one of those — not just the cheapest path through.
If you're reading this page you're probably weighing two or three contractors against each other, trying to figure out which one is being honest about scope and price. Our answer is straightforward: we tell you exactly what the job needs, we put it in writing with line items, and we don't change the number after the work starts. Below is the full picture of how we run driveway installation projects — the why, the materials, the steps, the mistakes other crews make, and what it actually costs in 2026.
Long Island driveways often need engineered drainage where new pavement adds impervious surface — Nassau and Suffolk both require stormwater management on driveway expansions over 500 sq ft.
- A poured concrete driveway adds an estimated 5–10% to resale on a Long Island home
- Most existing residential driveways were built 30–60 years ago to no engineered spec
- DOT curb-cut and apron requirements have tightened since 2018
- Modern SUV and EV weights (5,000–7,000 lb) crack under-spec'd slabs in under 10 years
Materials, Specs, and Why They Matter
Material selection is where most driveway installation projects are won or lost. The wrong-grade material costs 10–15% less up front and fails in a fraction of the expected service life — that's not a hypothetical, it's the failure pattern we see every week when we get called in to fix someone else's recent work. The materials and specs we use on driveway installation jobs aren't the most expensive on the market, but they are the right grade for the loads, the climate, and the substrate they're going on.
Every driveway installation job we run uses the spec below as the baseline. When the site conditions call for an upgrade (heavier traffic, problem soils, exposure, historic-district compatibility) we'll quote the upgrade explicitly and explain why. When the site conditions allow a downgrade without affecting service life, we'll quote the downgrade and pass the savings through. The point is that the spec matches the job, not the other way around.
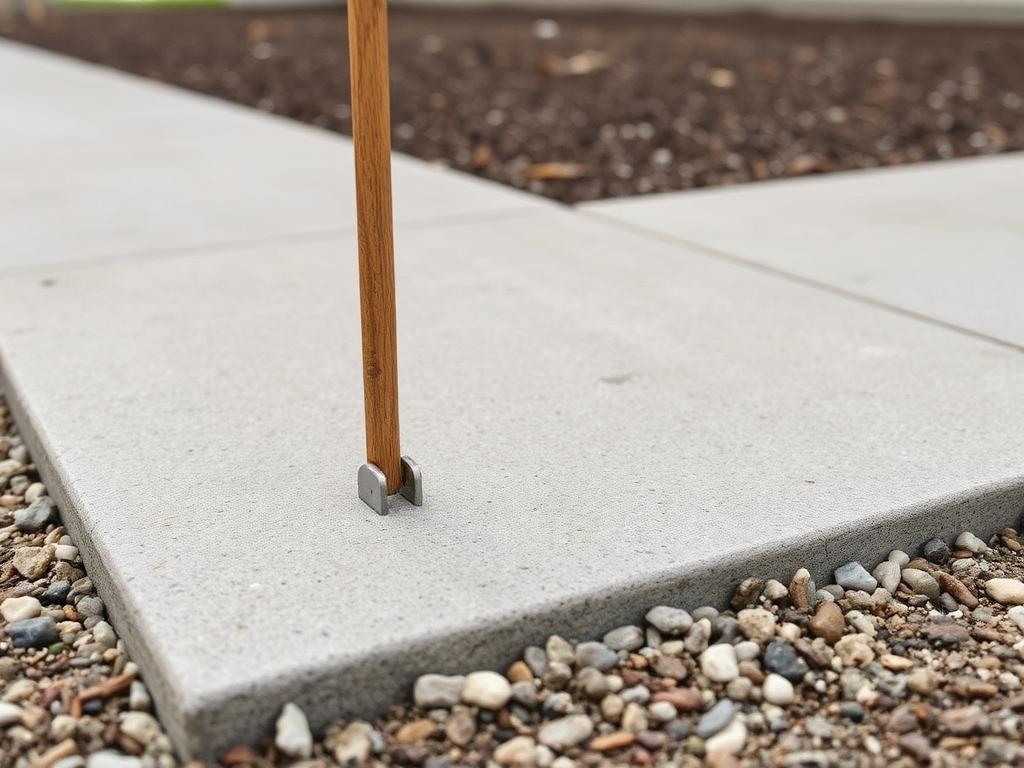
- 4,000 PSI air-entrained concrete, 4–6 inch thickness depending on use
- Compacted RCA or ¾-inch crushed stone sub-base, 6–8 inches
- Geotextile fabric over native sub-grade on poor-draining soils
- #4 rebar grid on 18-inch centers for vehicle slabs
- Cambridge, Nicolock, or Techo-Bloc paver options
How We Actually Do the Work — Step by Step
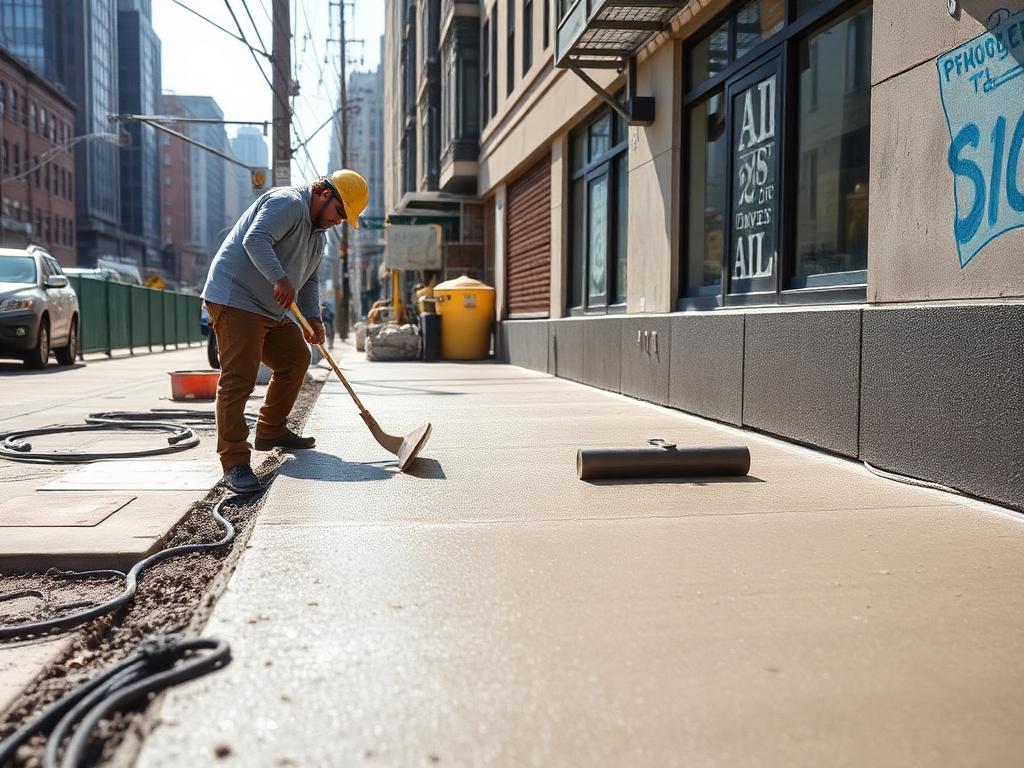
One thing that separates real contractors from "guys with a truck" is that real contractors follow a documented process on every job, in the same order, every time. The driveway installation sequence below is what every one of our crews runs — not what we wish they'd do, what they actually do. If a step is skipped, the job doesn't pass our internal QC and it doesn't get billed as complete.
We share this process publicly for two reasons. First, so you know what to expect: when you book driveway installation with us, the steps below are the steps that happen, in this order, with photo documentation at each milestone. Second, so you can use it to evaluate any other quote you're considering. Ask the contractor across town what their process is — if they can't answer in this much detail, that's information.
- Property survey, slope measurement, drainage assessment, curb-cut review
- DOT permit pulled for any work that touches the apron or sidewalk
- Demo of existing surface, removal of unsuitable sub-grade soil
- Compact crushed stone base in 4-inch lifts with vibratory plate
- Set forms, place rebar grid on chairs, install expansion joints at fixed objects
- Pour at 5,000 PSI for high-traffic driveways, finish to broom or stamped pattern
- Cure for 7 days before vehicle traffic, seal at 28 days
Mistakes Other Contractors Make — and What to Watch For
We get called in to fix recent driveway installation work all the time — sometimes a year after the original install, sometimes within weeks. The mistakes are remarkably consistent, and almost all of them are avoidable with proper training and a no-cut-corners attitude on site. If you're vetting contractors, the list below is what to look for and what to ask about.
Some of these mistakes are technical (wrong mix, wrong gauge, wrong substrate prep). Others are procedural (no permit, no written warranty, no insurance certificate). And a few are commercial red flags — pressure to sign today, large up-front deposits, "cash discounts" that conveniently leave no paper trail. We've never asked a customer for cash, we don't take more than a reasonable mobilization deposit, and we don't pressure anyone to decide before they're ready.
Typical 2-car concrete driveway: 3–5 working days for demo, base, pour, and cure. Paver driveways run 5–8 days. Both last 25–35 years with proper installation. Pavers can be individually repaired if a section ever fails; concrete requires a saw-cut section replacement.
- Skipping geotextile on clay soils — guaranteed settling
- Pouring on uncompacted fill — slab cracks at the seam in year 1
- Single 4-inch slab for a driveway that takes truck or RV traffic
- No expansion joint between driveway and garage slab — both crack at the joint
What Driveway Installation Costs in 2026 — and What Moves the Number
A new concrete driveway in NYC and Long Island in 2026 runs $14–$24 per square foot installed for plain broom finish and $20–$35 per square foot for stamped or paver driveways.
Pricing for driveway installation is driven by a handful of variables that we lay out plainly in every quote. Two jobs that look identical from the curb can price very differently once you account for sub-grade condition, access, permit requirements, and finish level. That's why we don't give blind phone quotes — a 5-minute site visit is the difference between a number you can trust and a number that grows once the work starts.
Whatever the final number ends up being, it's documented before any work begins. Line-item scope, materials by spec, labor, permit, disposal, and any allowances all show up on the estimate. Change orders (when they're needed) are written, signed, and priced before the change happens. You never get a surprise invoice at the end.
Ongoing maintenance on driveway installation is straightforward when the install is done right. The schedule below is what we recommend to every customer — follow it and the work we deliver lasts the full design life.
- Driveway size (typical 2-car is 400–600 sq ft)
- Old surface demo and haul-away tonnage
- Curb-cut modifications or apron replacement
- Decorative finish (stamped or colored vs. plain broom)
- Drainage work (trench drains, swales)
- Maintenance: Seal at 28 days, then every 3–5 years
- Maintenance: Avoid plow blades on stamped concrete — use a poly-edged shovel
- Maintenance: Re-stripe or re-edge pavers every 8–10 years to maintain interlock